Binding is fussy. In an effort to stay away from plastic I've decided to use holly, which is a very pale, rather softish wood. A single black-white purfling strip (made from black-dyed pear and maple veneers) will suffice, and it does away with the necessity of routing two separate channels.
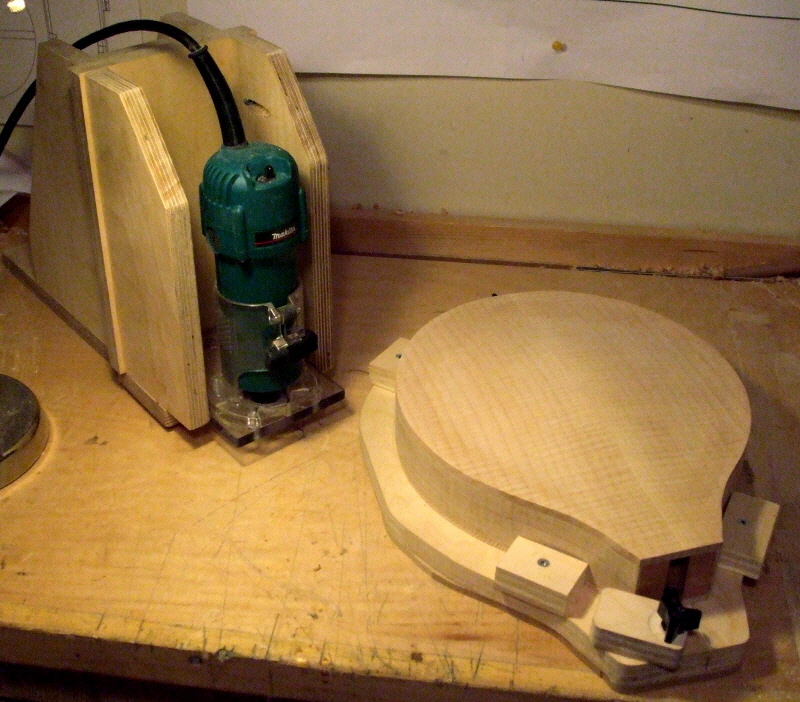
Here's my high-tech binding jig. The undulating nature of plates on a mandolin make it almost impossible to hold a router plumb to the surface. This little Makita laminate trimmer is fixed to a plywood carriage that slides up and down on two sturdy drawer slides. The device is bolted to the bench and instrument is presented to it in some form of carrier that keeps the sides perpendicular to the bench surface. I used the carving cradle with some blocks screwed down to keep things from shifting.
Here's the exciting end. A small rabbet cutting bit is surrounded by a disc of slippery plastic (a furniture glide). The router only rests on a tiny area of the top plate about 3/16" (4mm) wide and thus does not get thrown out of plumb by the rising surface of the arch. The ball-bearing guide on the bottom of the bit has been modified with the addition of clear plastic tape. I know it's ridiculous, but it lets me dial in the
exact depth of cut without having to fumble through a huge and expensive stack of bearings in umpteen different diameters. Care must be taken to rout in the correct direction and I normally use a couple of light passes to reach full depth. Obviously this is an inherently dangerous operation and hands must be kept well away from the bit and all safety precautions addressed.
Ah, if they were all this simple! The gentle curve and supple binding materials make for an easy ride. I used regular masking tape to hold things in place. Having the binding channel correctly sized takes a lot of stress out of the procedure. If the binding is higher than the channel it can have a tendency to tip inward slightly, causing gaps. One has to be careful removing the tape. Sometimes slivers of grain want to come up with it.
The back gets the same treatment with the addition of a decorative line at the top. The heel cap will mate up with this and complete the curve, hopefully in a graceful manner.